Creating an Invoice
Learn how to create professional invoices for your clients in just a few steps.
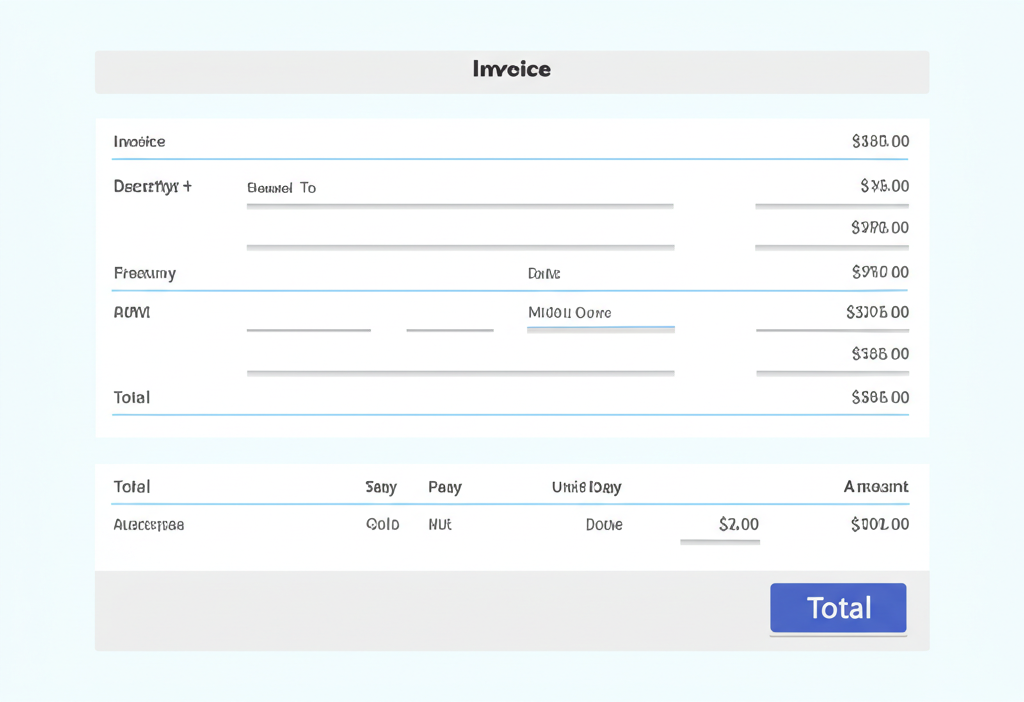
Overview
BuildLedger makes it easy to create professional invoices that help you get paid faster. This guide will walk you through the process of creating an invoice from scratch, adding line items, applying taxes, and finalizing it for your client.
Accessing the Invoice Creation Page
There are multiple ways to create a new invoice in BuildLedger:
- From the dashboard, click the + Create Invoice button in the top right corner
- Navigate to the Invoices page and click Create Invoice
- Convert an existing quote to an invoice (covered in a separate guide)
Step 1: Enter Client Information
The first section of the invoice form allows you to enter or select client information:
- Select an existing client from the dropdown, or
- Enter new client details (name, email, address, etc.)
- If entering a new client, you can save them to your client list for future use
Step 2: Add Invoice Details
Next, fill in the basic invoice details:
- Invoice Number: Automatically generated, but can be customized
- Invoice Date: Defaults to today's date, but can be changed
- Due Date: Set when payment is due (e.g., 15, 30, or 60 days from invoice date)
- Reference/PO Number: Optional field for client's purchase order or reference number
Step 3: Add Line Items
The line items section is where you add the products or services you're billing for:
- Click Add Item to add a new line
- Enter a description, quantity, unit price, and optional tax rate for each item
- You can select items from your Service & Material Library to quickly add common items
- Add as many line items as needed
- The subtotal, tax, and total will calculate automatically
Step 4: Add Notes and Terms
You can add optional notes and payment terms to your invoice:
- Notes: Additional information for your client (e.g., "Thank you for your business")
- Terms: Payment terms and conditions (e.g., "Payment due within 30 days")
- You can save default notes and terms in your settings to automatically apply to all invoices
Step 5: Preview and Send
Before finalizing your invoice:
- Click Preview to see how your invoice will look to clients
- Make any necessary adjustments
- Choose to save as draft or send immediately
- If sending, you can customize the email message that accompanies the invoice
Pro Tip
Use the Save as Template option if you frequently create similar invoices. This will save you time in the future by allowing you to start with a pre-filled invoice.
Next Steps
After creating your invoice:
- Track its status on the Invoices dashboard
- Send reminders if payment is overdue
- Record payments when received
- Generate reports to analyze your invoicing activity
For more information on managing invoices, see the related guides: